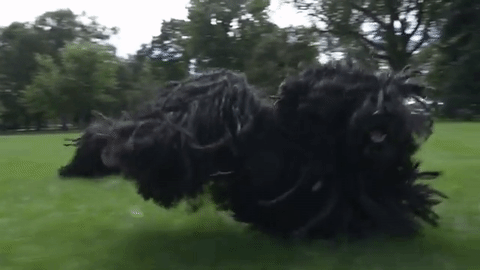
Tip #3 in preparation for May 1 – National Purebred Dog Day – has to do with “gifs” (short for Graphics Interchange Format). These are the short videos you see on social media platforms, and that they are the most eye-catching thing you can post on Twitter, Facebook and Instagram is evidenced by our own experience that a gif gets three times the “hits” that a still photograph gets. There’s even better news about gifs. They are ridiculously easy to make.
A gif can be a video or a slide show using your own pictures or video. It can be captioned, have “stickers put on it (like you can in Snap Chat), made into a meme, and/or enhanced with filters. We have two favorite gif-making sites, https://giphy.com/ and https://gifs.com/, and we recommend that you visit each to see which works best for you. A few thoughts about each site:
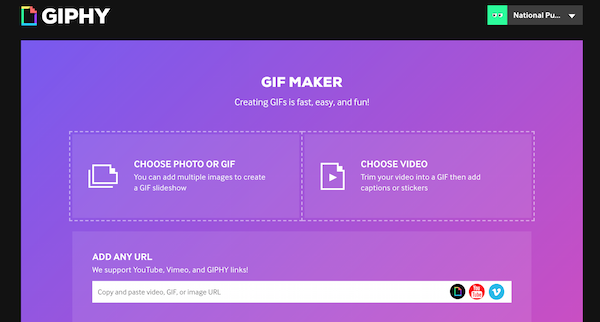
Giphy.com offers a lot of options that you’ll see when you first get to the site. The top of the page will look like the screen shot below. If you have access to your own video, or have permission to use a video from You Tube, you simply select the purple “create” button at the right side of the top.

The next page you’ll see looks like the one below:
If you have a video already loaded onto your computer, click on the box at the right that says, “choose video,” and your computer files will appear. Pick the one you want. If you want to make a slide show of your pictures, pick the box at the left that says, “choose photo or gif” and those photo files will show up. Pick the ones you want.
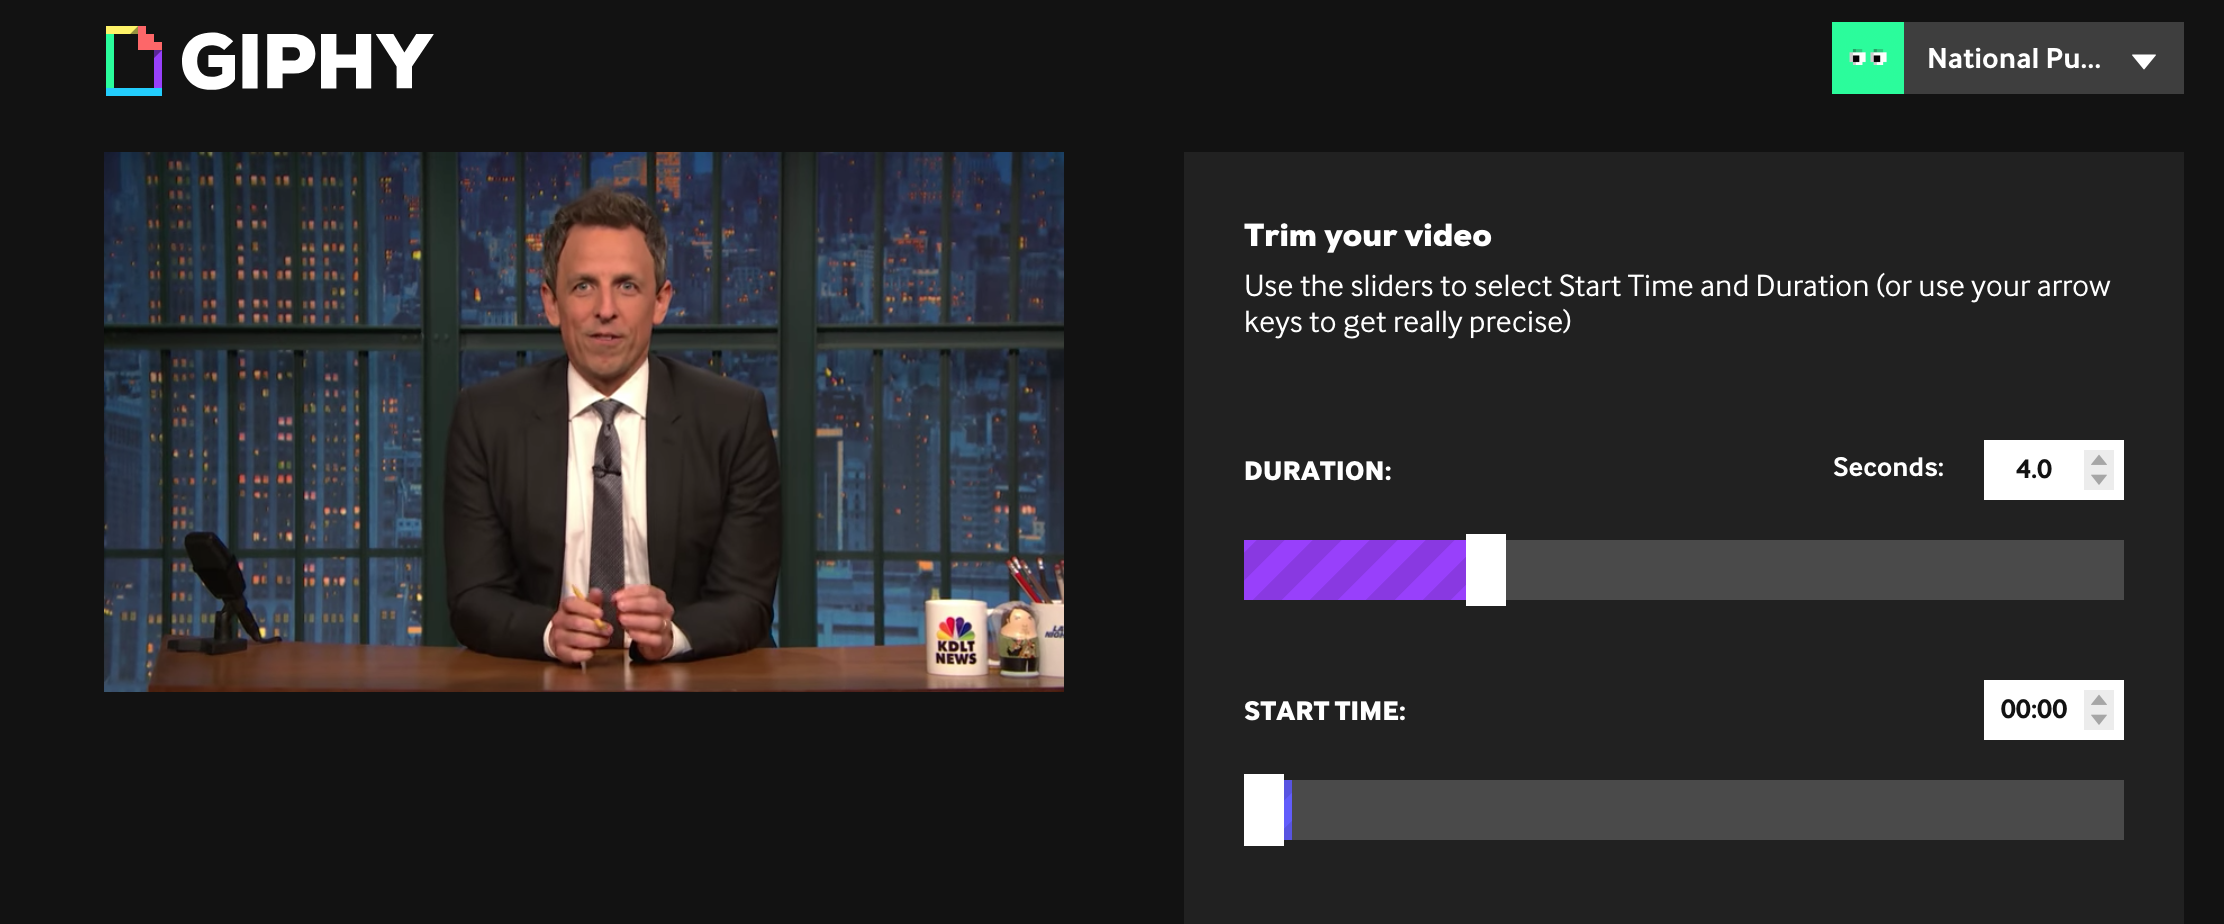
However, if you want to make a video gif from, say, You Tube (and make sure you have permission to use it!) enter the url, or “address” of the video in the white space where the words, “add any url.” The next screen you see will look like this (though the image will not be of a man at a desk, but of an image from the video you chose). At the right you can see “sliders.” They determine where your video will start and stop. The arrow buttons to the right of the sliders to the same thing, but with more precision. Honestly, you’ll have to play around with this to better understand it.
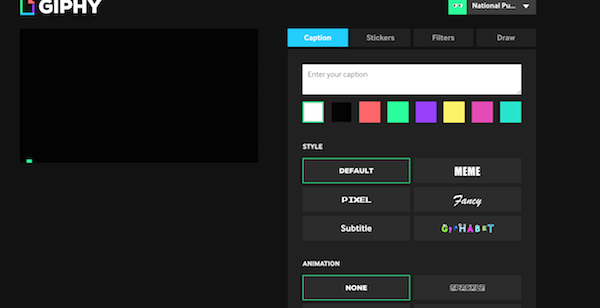
When your gif is the way you want it, your next screen (below) allows you to “decorate” the gif. You can add a caption, and choose the way the caption shows up (wavy, sparkly, etc.). You can choose to have no caption at all. This part can be fun!
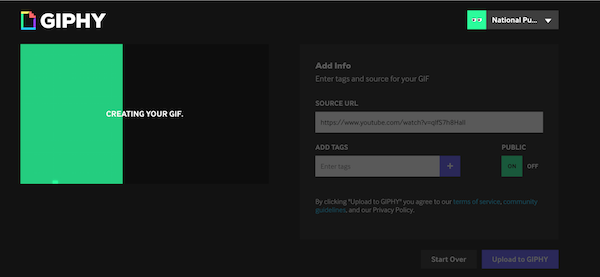
Your final screen (below) is where the gif is made. The green box moves from left to right, and once the gif is made, you can get a gif code or link to embed or share on different social media platforms. For our own purposes, we like to “right click” on the finished gif to save it to our desktop, and from there, we can post it directly to Twitter, Facebook or Instagram.
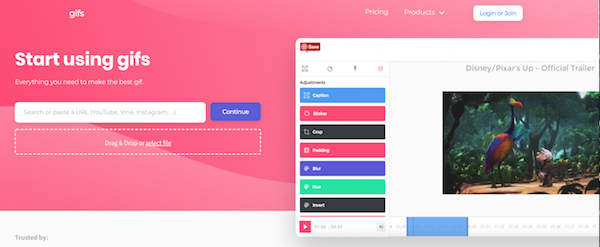
The other site we mentioned, gifs.com, seems to have fewer options, but how it works may suit you better. We’re not doing screen shots for this site because it’s a bit more self explanatory on the site, itself:
And that’s about it! Explore each, have fun, and make sure that whatever images or video you use, you have permission to use it. We look forward to seeing what you come up with on May 1, and don’t forget that even if your gif says what you want it to say with captions, you’ll need to add #NPDD and/or #purebreddogs in the post so that others can find it.
Happy gifing!